Navigate to the "All projects" page & click "+ New project" to get started.
Table of Contents:
Instructions
Navigate to the "All projects" page of the Ressio platform and click on the green "+ New project" button in the top right corner.
.png?width=670&height=345&name=Creating%20a%20new%20project%20-%20Step%203%20(1).png)
Fill out the project details. There are 5 categories of information that can be captured to start the project:
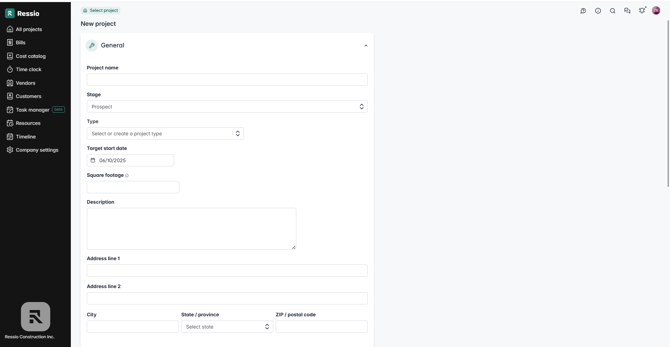
1. General Information:- Project Name: For internal purposes only. How the project will show up in the project list. (Required)
- Stage: What lifecycle phase the project is currently in. (Required) You can choose Template, Prospect, Pre-Construction, Production or Warranty
- Type: A customizable category to group similar projects ie. Custom Home, Kitchen Remodel etc.
- Target Start Date: The target start date. No schedule tasks will be able to start before this date
- Square Footage: Used in price per sqft calculations in the estimate & budget
- Description: Any additional details you might want to capture
- Address: Included in approval documents and also used to pull the weather in daily log posts
2. Customer Account:
- Search for an existing customer: Start typing in the search bar, and Ressio will automatically filter based on your input
- Create a new customer: Click the + (plus) button to create a new customer account if it doesn’t already exist
3. Prospects
Prospect Management Overview
4. Financial information: (Required)
- Cost Structure
- Cost Plus/Open Book/Time and Materials - Based on actuals and expenses
- Fixed Price/Lump Sum - Based on estimates and change orders
- Budget Organization
- By Cost Item - Tracks spending at item level
- By Cost Code (Recommended) - Groups expenses under codes (e.g. all framing lumber as one cost code).
- QuickBooks Online Integration - Link to a corresponding QuickBooks Online project via dropdown.
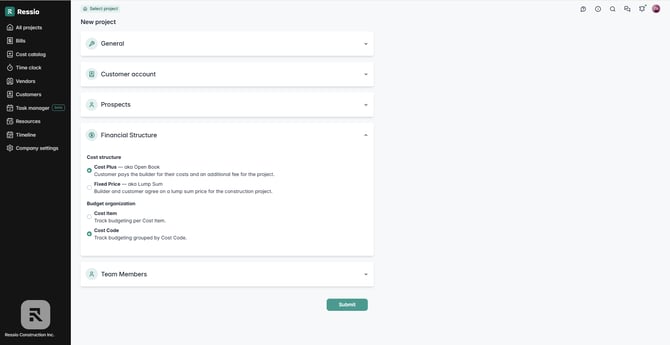
Note: Cost Code budget organization must be selected to use the QBO integration
Tip: Read the financial information carefully. A description of the expected result of the financial choice is included to help you understand your selection
5. Team Members
Choose which team members have access to this project. Users with the admin type are added to all projects automatically. If you have the team member user type you are automatically added to any projects that you create.
When you're done entering the project information, click "Submit"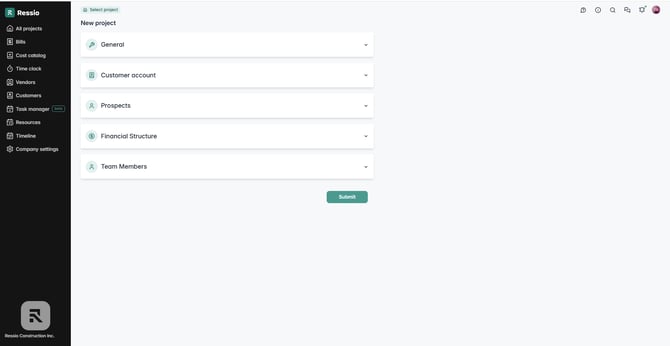
Note: This information can be edited after submission in the "Project settings" page
If you still have unanswered questions or need further assistance, please don't hesitate to reach out to our dedicated support team at support@ressiosoftware.com. We're here to help!