Use Files to keep your project documents, photos, images, and web links organized and easily accessible for all stakeholders.
Key Features
📁 Anywhere: Easily upload and manage digital resources from multiple locations in your project.
🔐 Accessibility: Share files and control who can access them.
📂 All in One Place: View, sort, and filter all project uploads in a single location.
Table of Contents
Files Overview
The Files page is your central location for organizing all project photos and documents. On the left-hand you will find your list of tags, with 'All files' listed at the top.

🗂️ The Files page compiles all files uploaded throughout your project into one location.
Layout Options
Use the Sort dropdown to rearrange files.
Toggle between Thumbnail and Ticket views for different visual layouts.

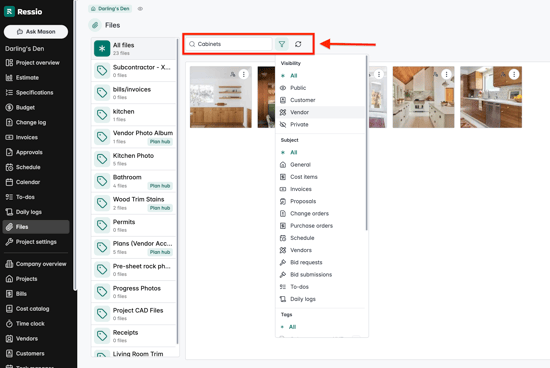
Searching and Filtering
Use the search bar (upper right) to find files by name.
Use the 🔽 Filter icon to filter by:
- Visibility (who can view file)
- Subject (the project section where the file was uploaded)
📁 Subject: Project = Files page
📊 Subject: Cost items = Estimate/Specification page.
Organizing Files
Keep your project files easy to find by organizing them in the following ways:
🏷️ Tags: Group related files for easier filtering.
📅 Renaming: Sort files by name or upload date.
📍 By Location: Files are grouped based on where they were added in the project (e.g., Estimate, Schedule, Messages).
Tagging Files
Tags, like file folders, help group and filter related files for easier navigation.
Select Manage Tags to create tags.

➕ Create: Select + Add Tag to create a new tag.
🗑️ Delete: Select the red 🗑️ Trash icon to delete a tag.
🗺️ Plan Hub: Toggle Share in the Plan Hub to include tagged files in Plan hub.

Adding Tags to Files: Select a file, then click 🏷️ No Tags in the bottom left to assign one or more tags.

Filter by Tag: Select the tag(s) to filter accordingly.

Renaming and Deleting Files
Select the ⋮ three dots in the top right corner of a file to:
✏️ Rename a file for better searchability
🗑️ Delete a file from your project

Organize By Location
Files can be added to practically every page/document.
You can upload files to:
Estimate │Specs │Approvals │Invoices│ Bills │Schedule │To-dos │Daily Logs │ Files │Vendors │Plan Hub

💡 PRO TIP: The Specifications and Schedule pages offer the most complete view of your project and provide the greatest flexibility for organizing and sharing files and other information.
How to Upload Files
In most areas, selecting the![]() File icon will open the upload interface.
File icon will open the upload interface.
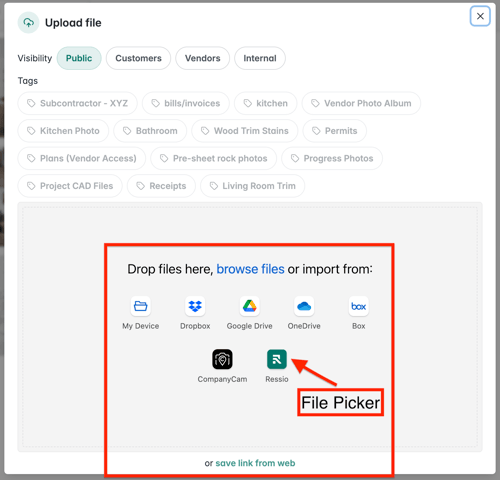
In the Files page, select Upload file to add files.

Upload Methods
Files can be uploaded in multiple ways.
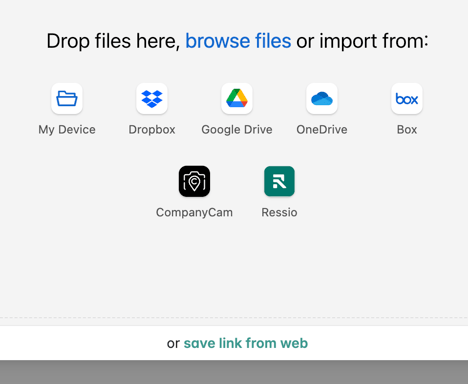
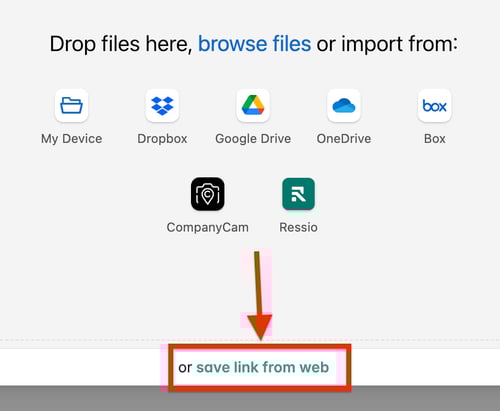
Drag and Drop

My Device
Select My Device to search through your device's File Manager.
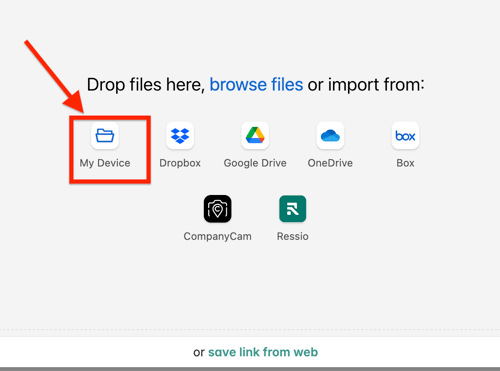
📱TIP: My Device opens your Camera and Photo Library on mobile devices.
File Integrations
Ressio integrates with leading cloud storage platforms to streamline collaboration:
Dropbox | Google Drive | OneDrive | Box | CompanyCam | Ressio
🎓To learn more about integrating with CompanyCam and how to do that, read "Integrating with CompanyCam in Ressio".
🎓💡The Ressio logo is our File Picker. This feature allows you to pull in files from the same Ressio project, making file management more efficient. To learn more, read and watch "Utilizing the File Picker Feature in Ressio".
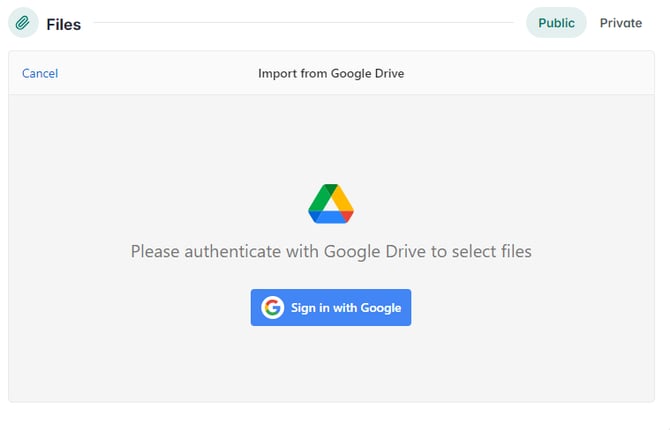
Setup
First time? You'll be prompted to log in and connect your account.
 |
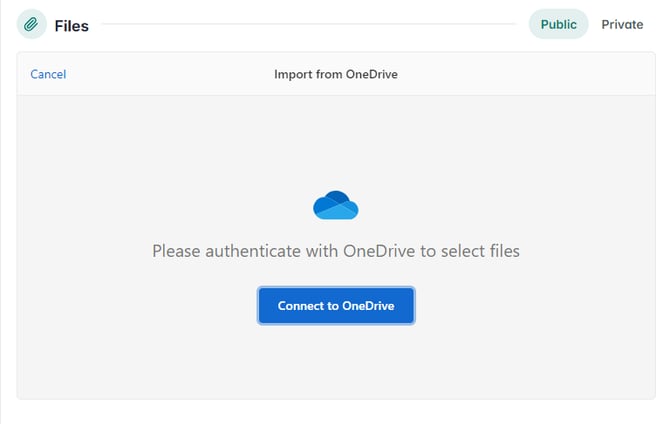 |
Follow on-screen instructions to complete setup.
Selecting files
Browse your connected drive, select files, then click Select.

Uploading files
Choose Upload # Files to finalize.

Manage your uploads: You can add, remove, or modify uploads before confirming.

⚠️ Note: This is a one-way integration. Files are imported into Ressio but changes made in your cloud storage will not sync back.
Save Link from Web
Use Save Link from Web to add live, editable files hosted online.
Enter the URL and name and select ☁️ Save link.

💡TIP: Use for documents that may change over time to ensure access to the latest version.
Sharing & Permissions
Send & Receive: Files can be attached to messages and downloaded as needed.
Messages
Files can be attached to messages using the ![]() file icon.
file icon.

💡TIP: Filter Message files by Visibility in the Files page.
Download
Select a file and choose Download to save it to your device.

Visibility Permissions
Control who can view files with Visibility settings.
Public: All users with project access
Customers: Customers and team with project access
Vendors: Vendors and team with project access
Internal: Only team members with project access.
Set Visibility Before Upload
Choose visibility before uploading to apply it to all selected files.

Controlling Team visibility: See user permissions. Team member users and field users can only access select projects.
Controlling Customer visibility: Customers must be invited to projects to view public/customer files.
Controlling Vendor visibility: Vendors must be assigned to specific items/tasks to view files.
- Specification files: Dependent on Vendor settings.
- Individual items: Vendor must be added to the specific Spec item.
- All Spec Items: Vendor can view all Spec item files.
- Bids / Purchase Order files: Vendor must be assigned to Bid / Purchase order.
- Schedule tasks / To-do files: Vendor must be assigned to task.
- Daily Logs: Vendors cannot access Daily Logs
Plan Hub
The Plan hub is a unique public web-link meant to share plans with stakeholders, specifically Vendors.
Plan Hub tags: Files can be added to the Plan Hub using tags. Files with a plan hub tag will show in the Plan Hub regardless of visibility settings.
🎓 To learn more about Plan Hub and how to enable it, read Plan Hub.
If you have any questions or need further assistance, contact our support team at support@ressiosoftware.com. We're here to help!