Understanding Company Settings in Ressio
In this article, you will learn how to effectively navigate and manage your company settings in Ressio. Your Company Settings in Ressio act as the foundation for how your business operates on the platform. From managing your team and cost codes to setting up reminders and integrations, this area ensures everything is configured to match your company’s workflows.
Understanding and managing your Company Settings ensures your team works efficiently and consistently across projects. You’ll:
-
🏢 Maintain accurate and professional company information.
-
👥 Keep your team organized with the right roles, rates, and permissions.
-
📊 Align budgets and cost codes with QuickBooks for accurate financial tracking.
-
📁 Stay organized with tags, templates, and file structure.
-
⏰ Avoid missed deadlines by enabling reminders for critical tasks.
Table of Contents:
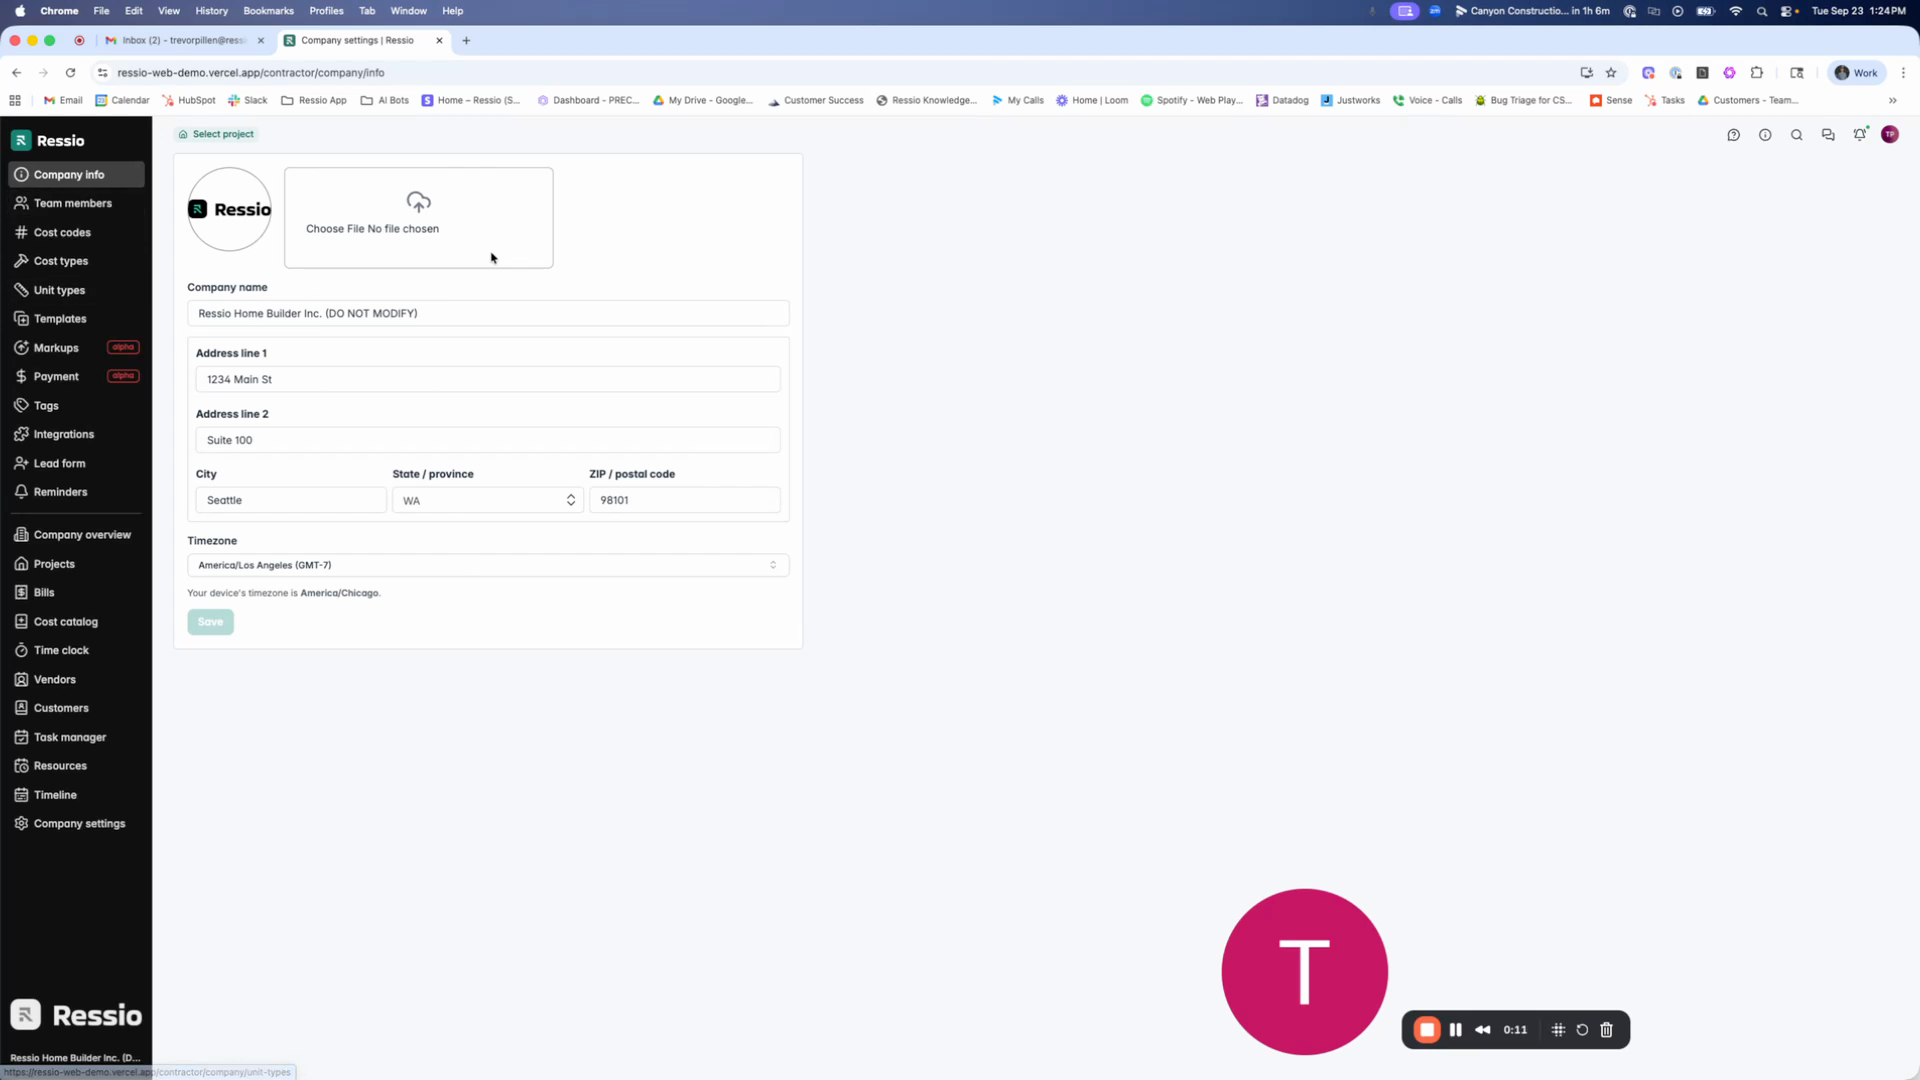
To access your company settings, navigate to the bottom left hand side of the screen.

The first section you'll see is your company info. Here, you can upload or update your company logo and basic information such as company name and address.
Below the company info, you'll find the team members section. Here, you can add new team members, including admins and field members. You also have the option to set burden rates for the time clock and allow team members to edit their own shifts or approve bills.


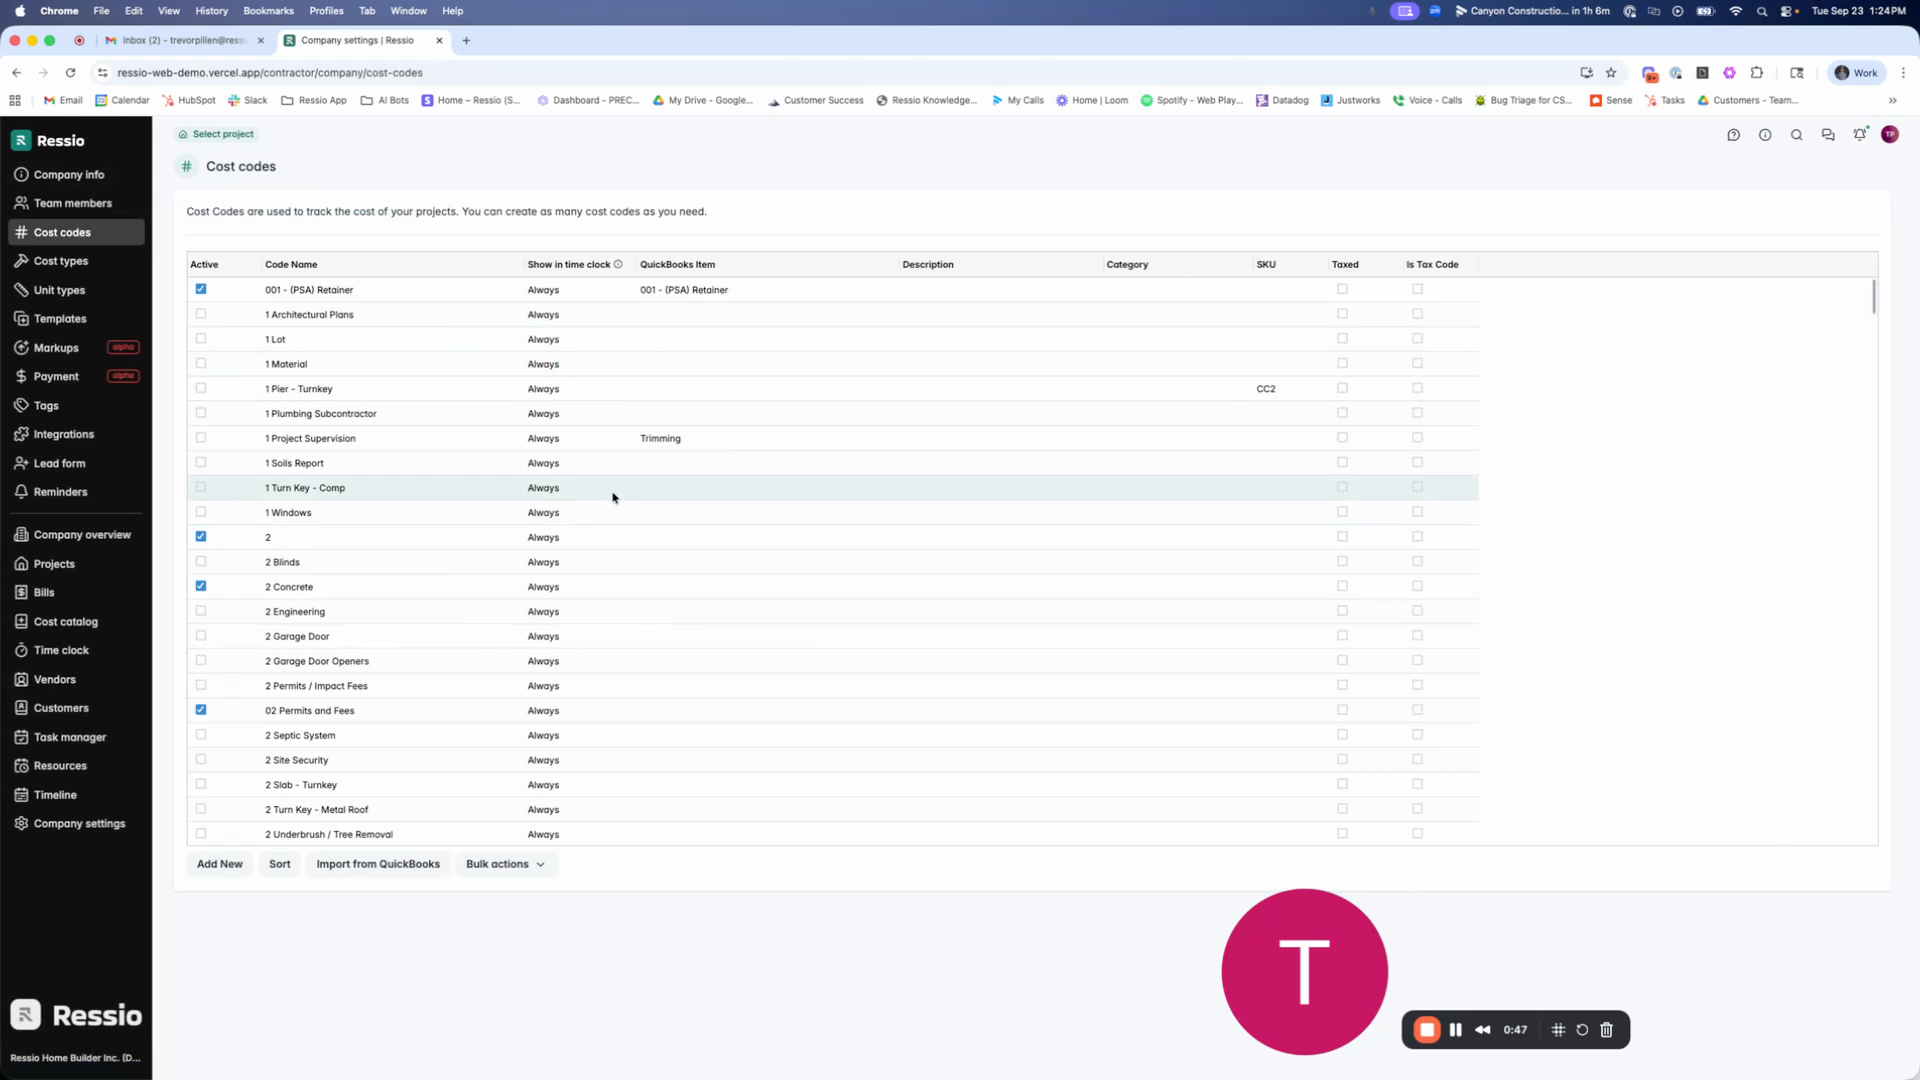
Next, you'll find the cost codes section. Here, you can upload your cost codes or link your account to QuickBooks to import them. This is also where you manage your cost types and unit types, which are used for estimates.

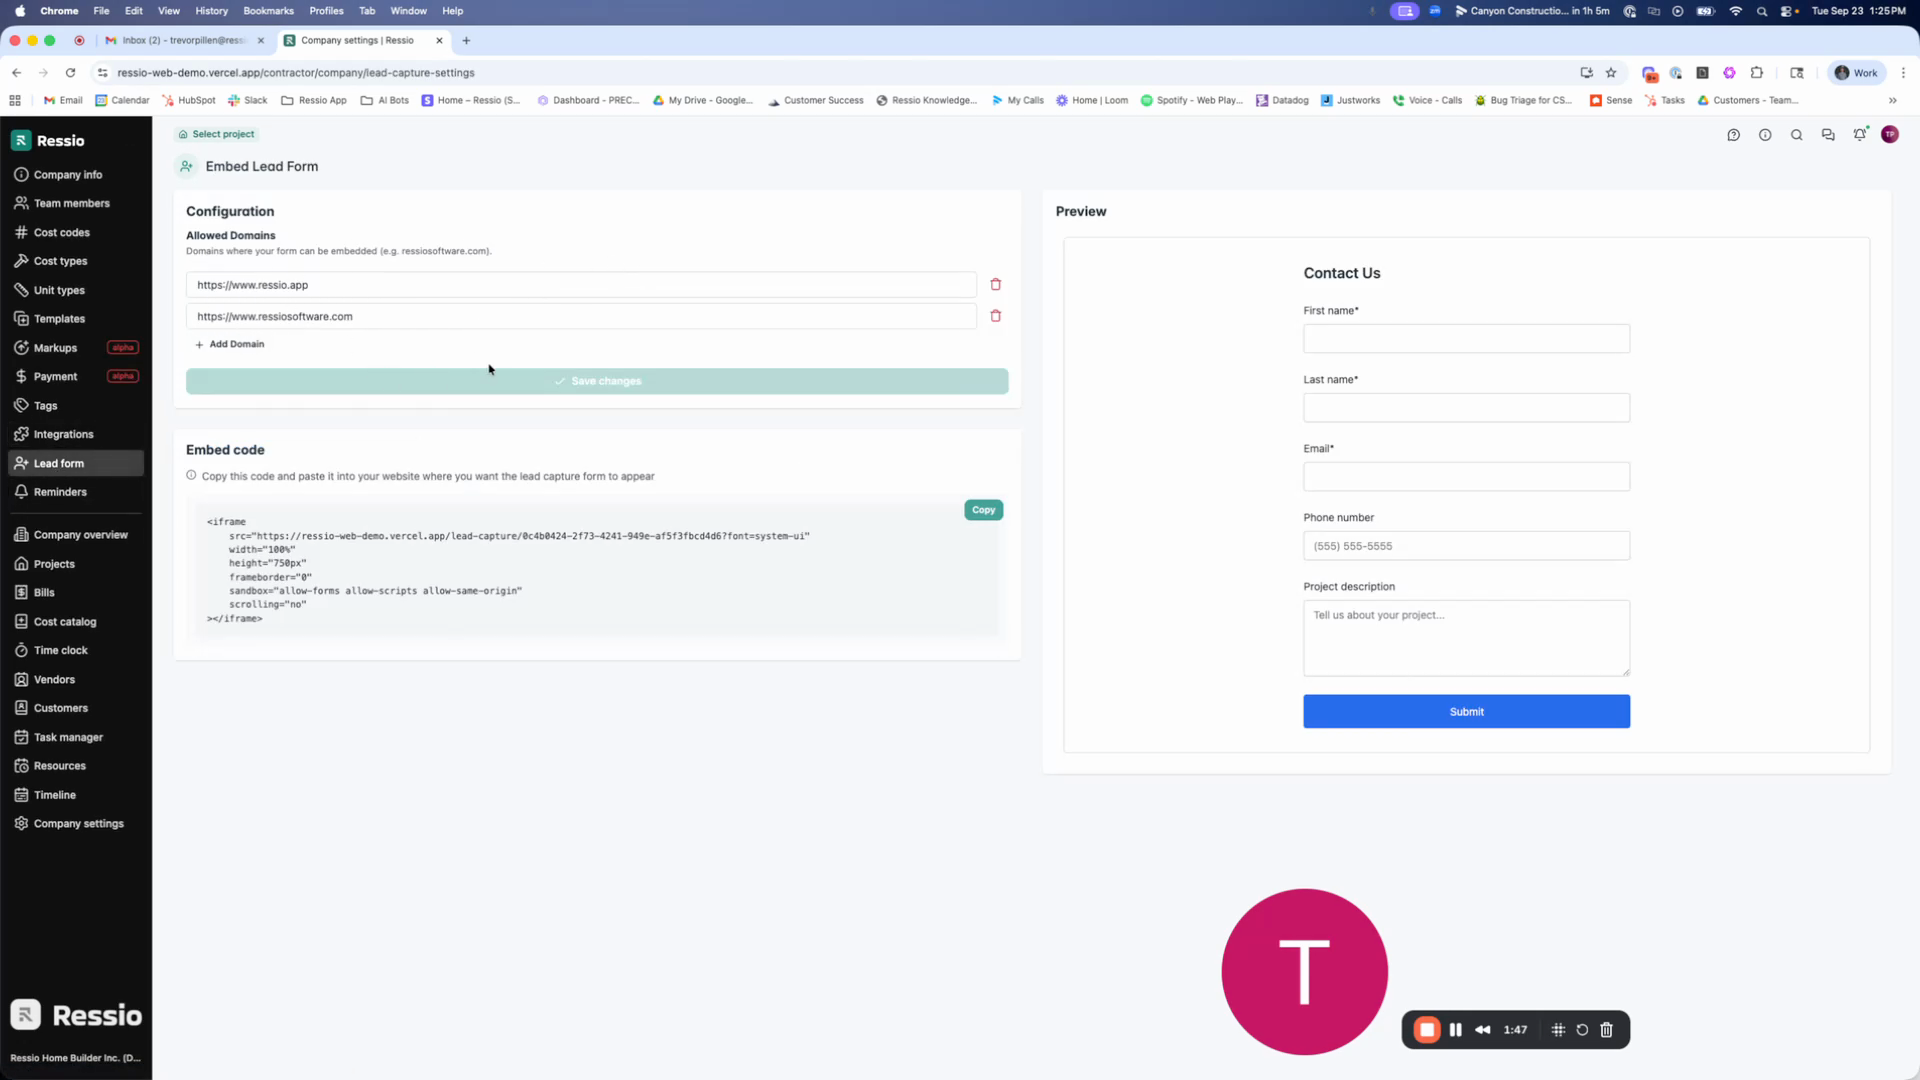
In the integrations section, you can connect your account to QuickBooks. You can also generate a lead form code for your website by entering your URL and saving the changes.


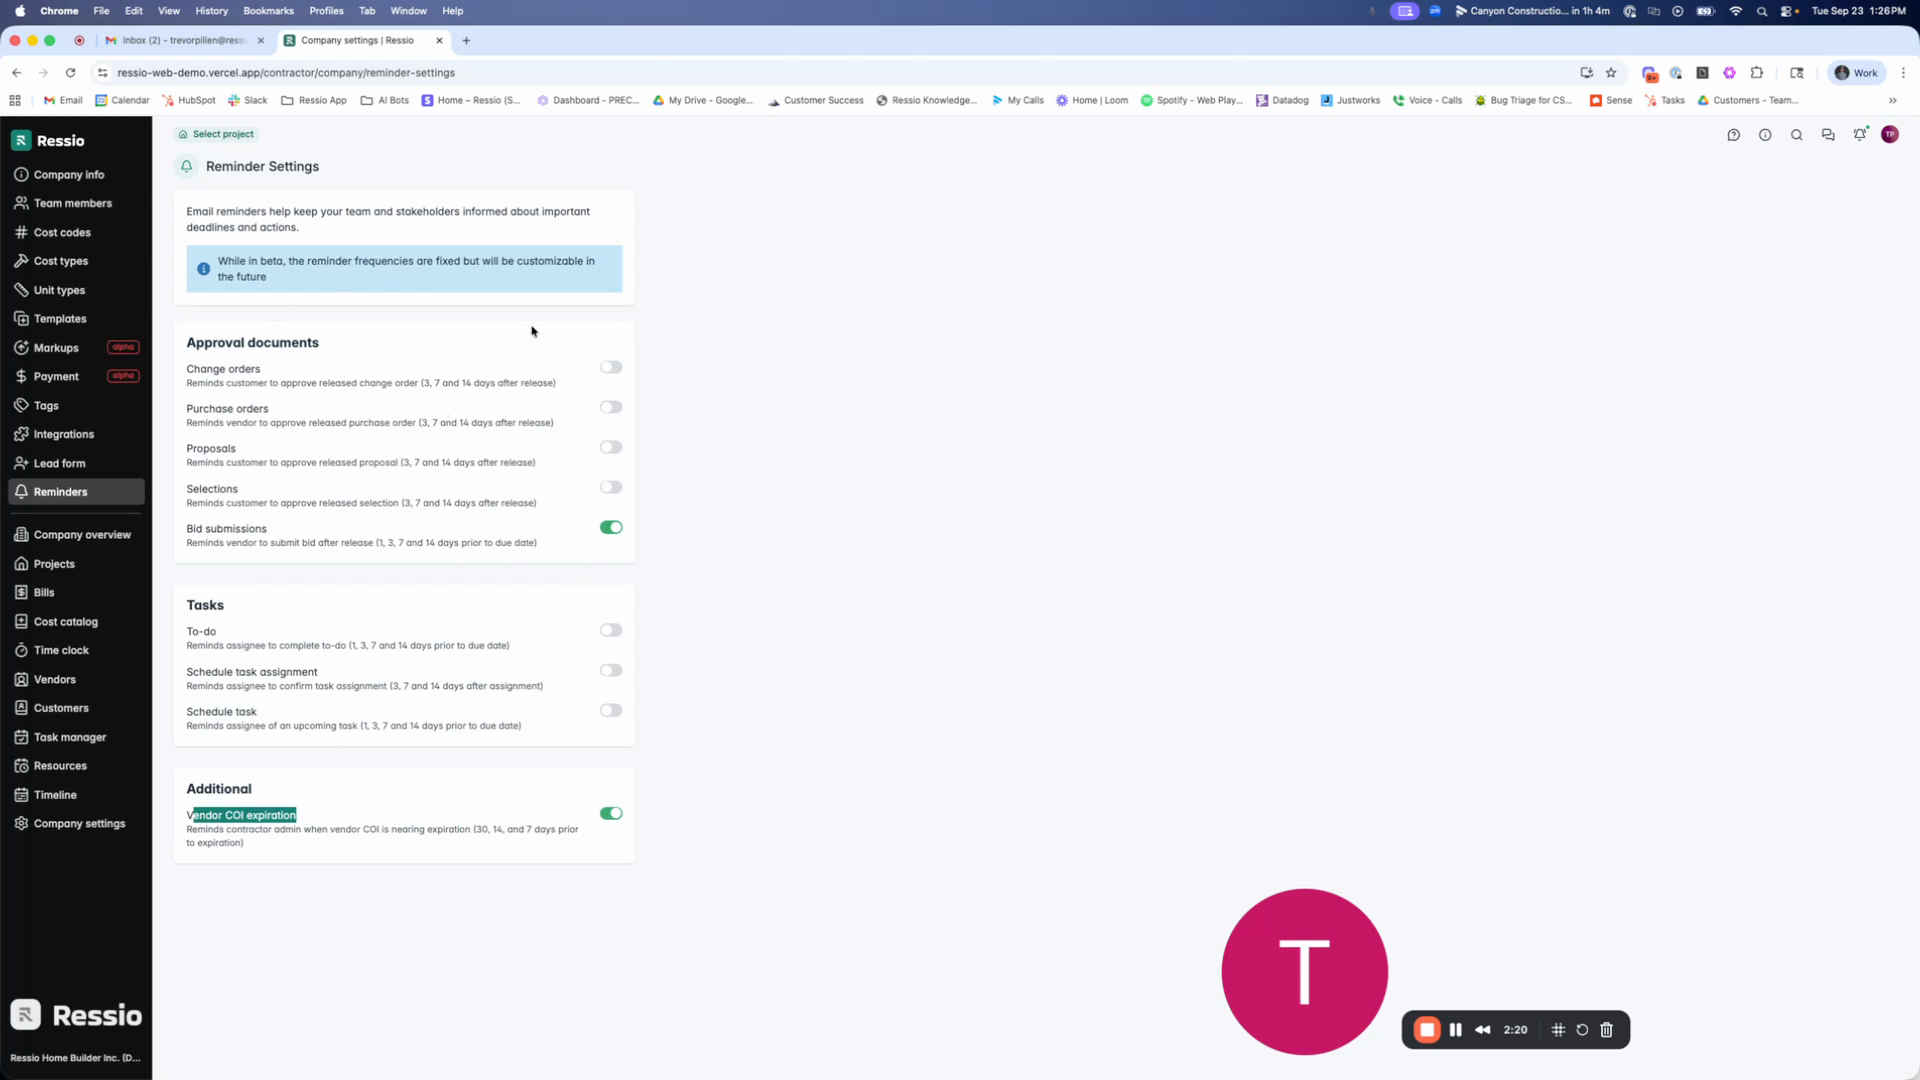
Finally, in the reminders section, you can turn on or off company level reminders.
💡By default, all reminders are off, so it's a good idea to check this section and turn on any reminders you need.
Company Holidays
Company Holidays allow you to block out non-working days across all projects in Ressio. Once holidays are added at the company level, they automatically appear in project schedules and calendars so teams don’t plan work on days your company is closed. The Company Holiday tab can be founder under Company Settings and is represented with a 🌴 symbol.
To add a Company Holiday:
-
Go to Company Settings
-
Select the Company Holidays tab
-
Click Add Holiday
-
Enter a Holiday Name, Select the Start Date and End Date
-
Activate the holiday by clicking on the ✅
You can add multiple holidays for the year.

🚨 Changes on the company level DO NOT automatically get applied to existing projects. Changes to existing projects must be manually synced. New projects automatically receive the existing company configuration at time of creation.
🎓 To learn more about Company Holidays and how to sync your holidays into individual projects, read and watch Creating & Managing Company Holidays.
Schedule

The Schedule tab in Company Settings includes two toggles:
-
Include weekends in schedule - affects date calculations
-
Use individual schedule task colors on company-level calendar, resources, and timeline pages - affects display only
🎓 To learn and understand more on how it affects your project schedule, read "Manage Weekend Scheduling and Task Colors".
If you have any questions or need further assistance, contact our support team at support@ressiosoftware.com. We're here to help