Manage the unknown with confidence
The KNOWNS: Your project's schedule comprises everything you KNOW needs to be done to finish the job. It is, by nature, a list of tasks you can plan for.
The UNKNOWNS: To-dos are for the task that arise unexpectedly. They are for both URGENT and NON-URGENT tasks that might otherwise hold up the planned tasks in the schedule.
The Importance of To-dos
✅ Assign and track action items from anywhere
📱 Instantly alert team members and vendors of urgent tasks
🔬 Provide visibility into overlooked issues
📋 Add detailed checklists to keep progress clear and measurable
Table of Contents
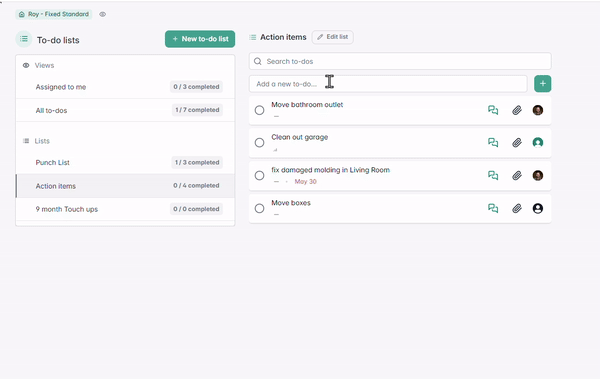
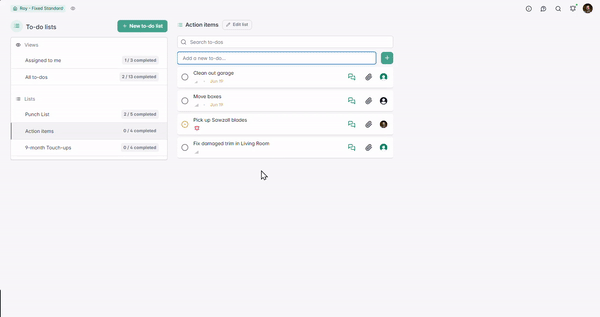
Building an organized To-do page
Location:
Find the To-do page in the left menu bar in your project. The default View will be 'Assigned to me'.
To-do page layout:
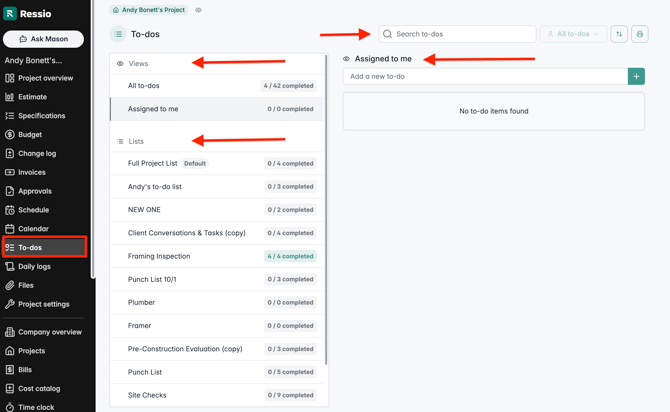
On the left-hand side 'Views' will be on top and underneath is 'Lists'. The right hand side is where you can see a list of tasks.
View: All to-dos│ Assigned to me
Lists: Edit | Create checklists | Message | View Completion | Assign | Organize | Attach File
Tasks: + Add a To-do │ Edit and Open To-do tasks│ Search To-dos
Details: View and Edit To-do details │ Send and View Messages │ Files/Photos/Links
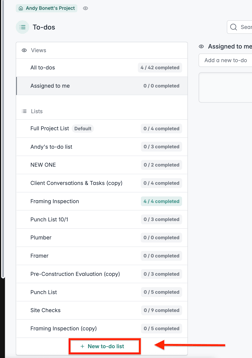
Lists
Use lists to organize your To-dos into distinct categories. Optional lists include: Punch List, Action Items, 9-month Touch ups, Receipts.
Creating lists
Select + New To-do list to create a list
Name your list and Save
Copying Lists
To-do lists can be imported from other projects.
Within the + New To-do list window, select the Project and list from the drop downs provided.
Tasks can include:
- Priority
- Due dates
- Assignees

Editing/Deleting lists
Select the list, then choose Edit.
Save changes or click Delete.

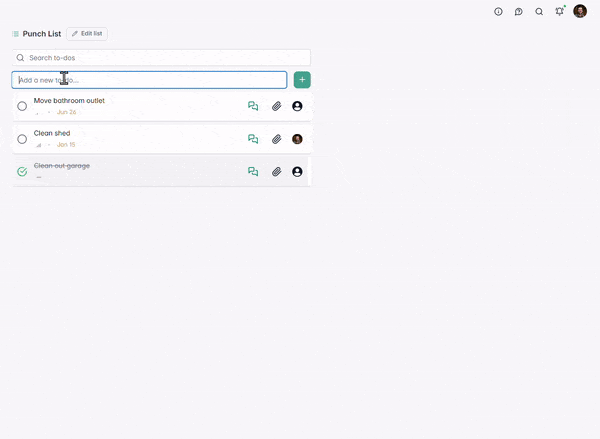
Anatomy of a To-do
To-do information can be found at the top of the page of the 'To-dos' tab.
Task View

📅 Upcoming dates are YELLOW. Today's date and overdue dates are RED.
✏️ The following fields are editable in the Center View: Status │ Priority │ Assignee | Checklist | Due Date
Detail View
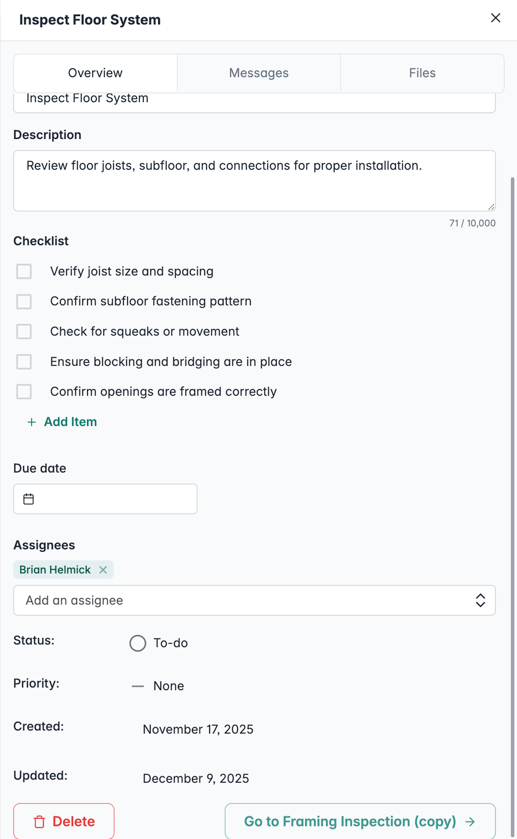
Tabs: Overview │ Messages │ Files
Basic Information: Task name │Checklist │ Description
Task Management: Due Date │ Assignee │ Status │ Priority | Created Date | Last Updated Date
Actions: Delete │Go back to 'List name'
💾 Change are saved automatically
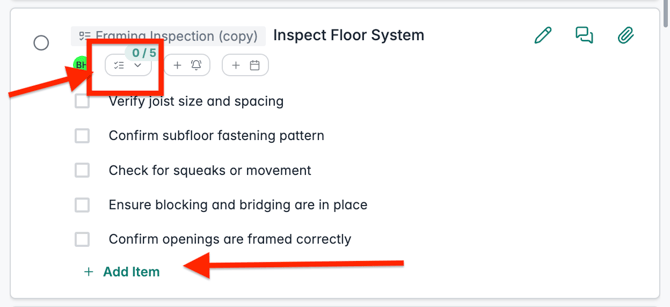
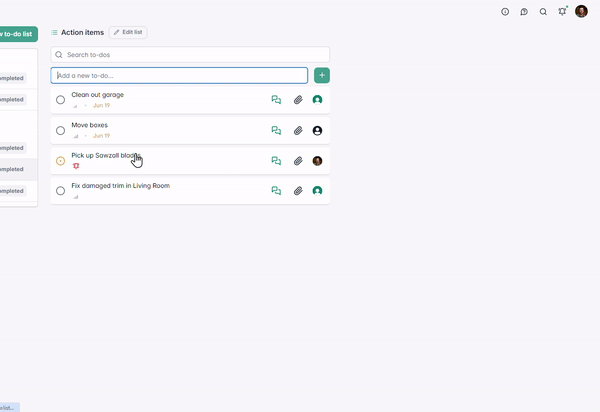
Using Checklists in To-Dos
Checklists help you break a task into smaller, trackable parts. It is perfect for punch lists, QA steps, or multi-stage work. To watch a video, click HERE.
To add a checklist:
-
Open the To-Do’s Detail View
-
Click the Checklist icon
-
Add items line by line
As you check items off, Ressio automatically updates the completion percentage.
⚠️ You can assign users to the To-Do itself, but not individual checklist items.
📊 Checklists are also visible in the Task Manager — look for the green checklist icon showing progress (e.g., 2/5).
Creating a To-do
To-dos can be created via:
- Center Task view column
- Right side task detail drawer
- Mobile device
Task View
Pros: Fast, Auto-save
Cons: Unable to set date without extra clicks
Enter task name, hit Enter, choose Assignee and Priority.
Detail view
Pros: Clean layout. Ability to enter Due Date and Description.
Cons: Manual SAVE required before exiting.
Select the + icon and select New To-do.
Enter the task name, fill out optional fields and SAVE.
💾 Changes save automatically.💾
Mobile
Pros: Accessible anywhere.
Cons: Small screen/keyboard
Tap To-dos in the top menu. Choose a list.
Add a new To-do. Tap the To-do to open and edit.
.gif?width=670&height=754&name=GMT20240605-165855_Recording_640x720-ezgif.com-optimize%20(1).gif)
💡Tip: Download the Ressio app for easy access.📱
Messages and Files
To-dos can include Messages and Files/Photos/Links
- Messages enable your team and/or the assigned Vendor to communicate about the task.
- Files, photos, and links can be included to provide further information or context.
Sending a Message ✉️
In the right Details column, select Messages.
Choose Internal or Vendors only.
INTERNAL: Sent to your team.
VENDORS ONLY: Sent to the assigned Vendor and your team.
Adding Files 📁
In the Details column, select Files.
Drag a file into the upload field at the bottom, or click to browse your computer.
Use the Link tab to add a URL.
NOTE: Files/Links can be made PUBLIC or PRIVATE.
Public: Viewable by Vendors and team. Private: Only viewable by your team
Should you assign a To-do to a vendor not already using the system but has been added to your Vendors List, they will receive an email that they have been assigned a To-do. We encourage you to assign a To-do to the vendor for visibility if they are going to be interacting with that task. You can have multiple people on the To-do and it will make it more visible to them if they do log into Ressio!
Notifications/Updates
Letting the right people know.
Email notifications
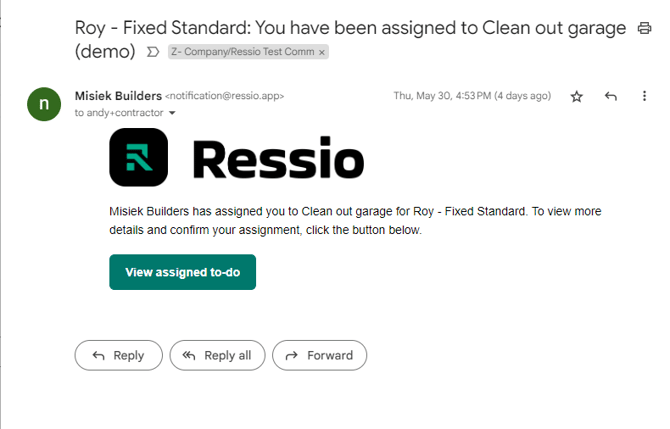
To-do notifications are emailed immediately to the assignee.
NOTE: To-dos can only be assigned to ONE user - either a Team member or Vendor - to prevent finger-pointing and duplicate efforts.
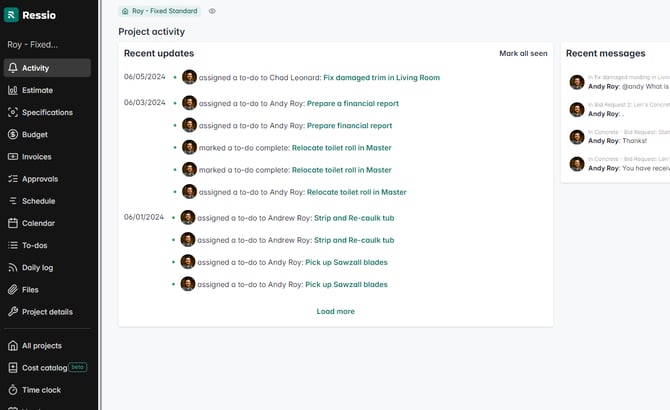
Activity Page
To-do updates and messages are logged to the Activity page.
To-do Scenarios
To-dos are versatile and use cases can vary by company role.
Case 1: Supervisor/Lead 👷♂️
In this scenario we will use the mobile app to:
- Choose a list to organize To-dos
- Create a To-do
- Add a photo from the phone's Photo Library
Case 2: Field / Vendor 🛠️
In this scenario, we will use the mobile app to:
- Use View: Assigned to me
- Find a task
- Set status to In progress
- Review Description, Messages, Files
- Upload a photo of finished work
- Mark as Complete
Case 3: Project Manager/Owner/Admin 📈
In this scenario we will:
- Use a computer to manage To-dos in the activity page
- Review a completed task
- Change a list where a To-do resides
- Create a task for myself in Assigned to me view
Printing To-Dos
In the top right hand corner of your to-dos page, you will see a print option. When you click printer icon, you will have the option of including your header and logo.

Click "Include header" again and a check mark will appear, letting you know that it will be included. Hit 'Print' and the printing window will appear allowing you to preview before printing.


If you still have unanswered questions or need further assistance, please don't hesitate to reach out to our dedicated support team at support@ressiosoftware.com. We're here to help!