Checklists in your Schedule make it easy to break larger scheduled tasks into smaller action items. This helps your team verify completion, stay aligned, and visually track progress directly in the Gantt chart or Task Manager.
Benefits:
✅ Enhanced task management — break complex tasks into smaller parts
📈 Real-time progress tracking — completion percentage updates automatically
👥 Team collaboration — everyone sees progress across the project
Table of Contents:
- Creating a Checklist in the Schedule
- Tracking Progress
- Creating a Checklist in the To-Do's Tab
- Accessing Checklists in the Task Manager
Creating a Checklist in the Schedule
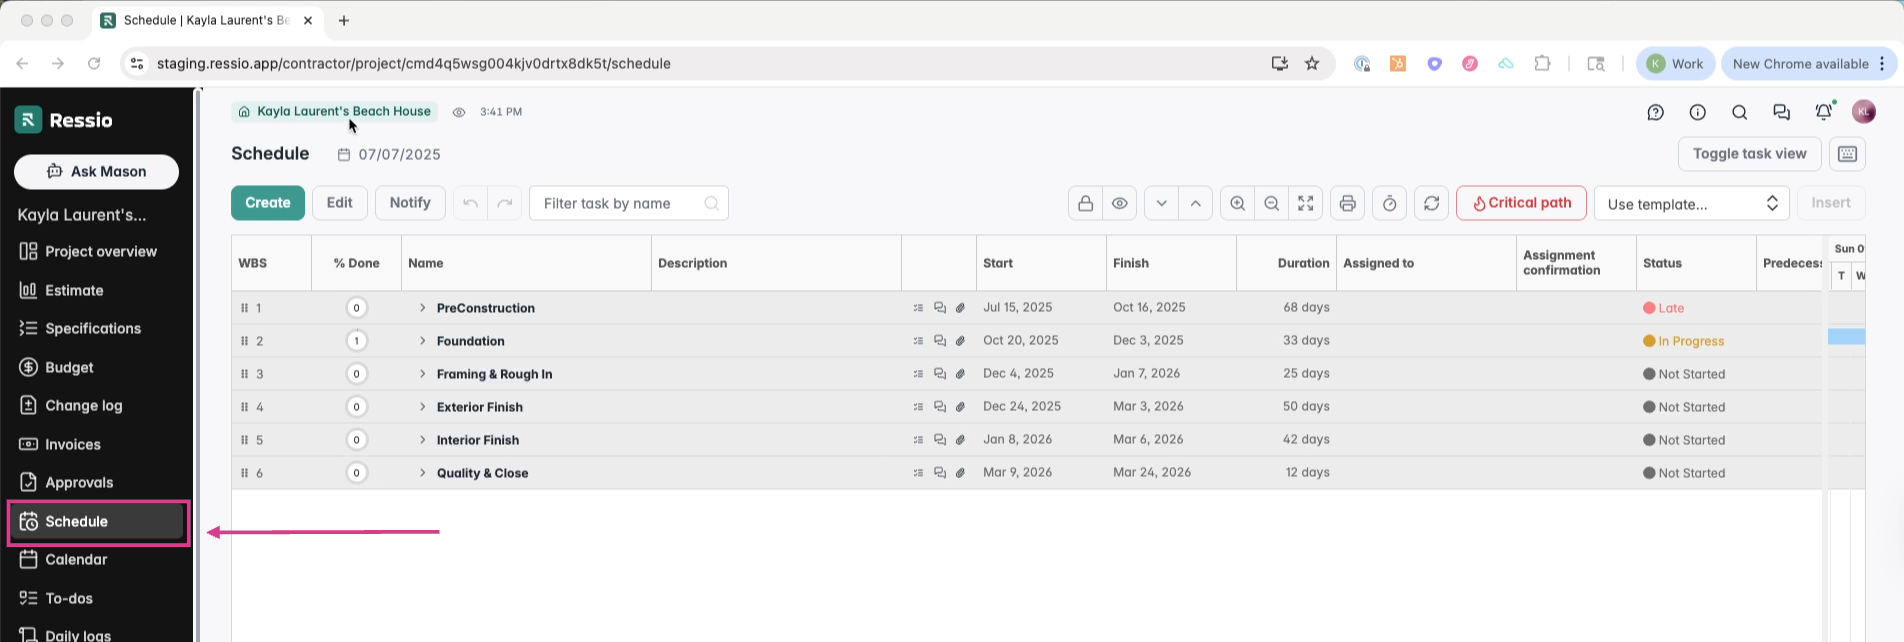
- Open your project and click Schedule in the left menu.
- Expand a phase (gray bar) to see its tasks.
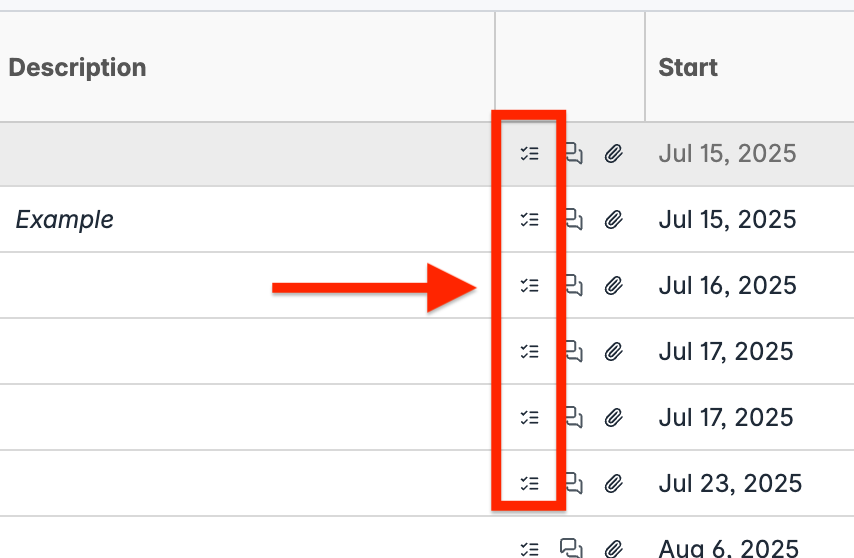
- Click the checklist icon on the right of any task.
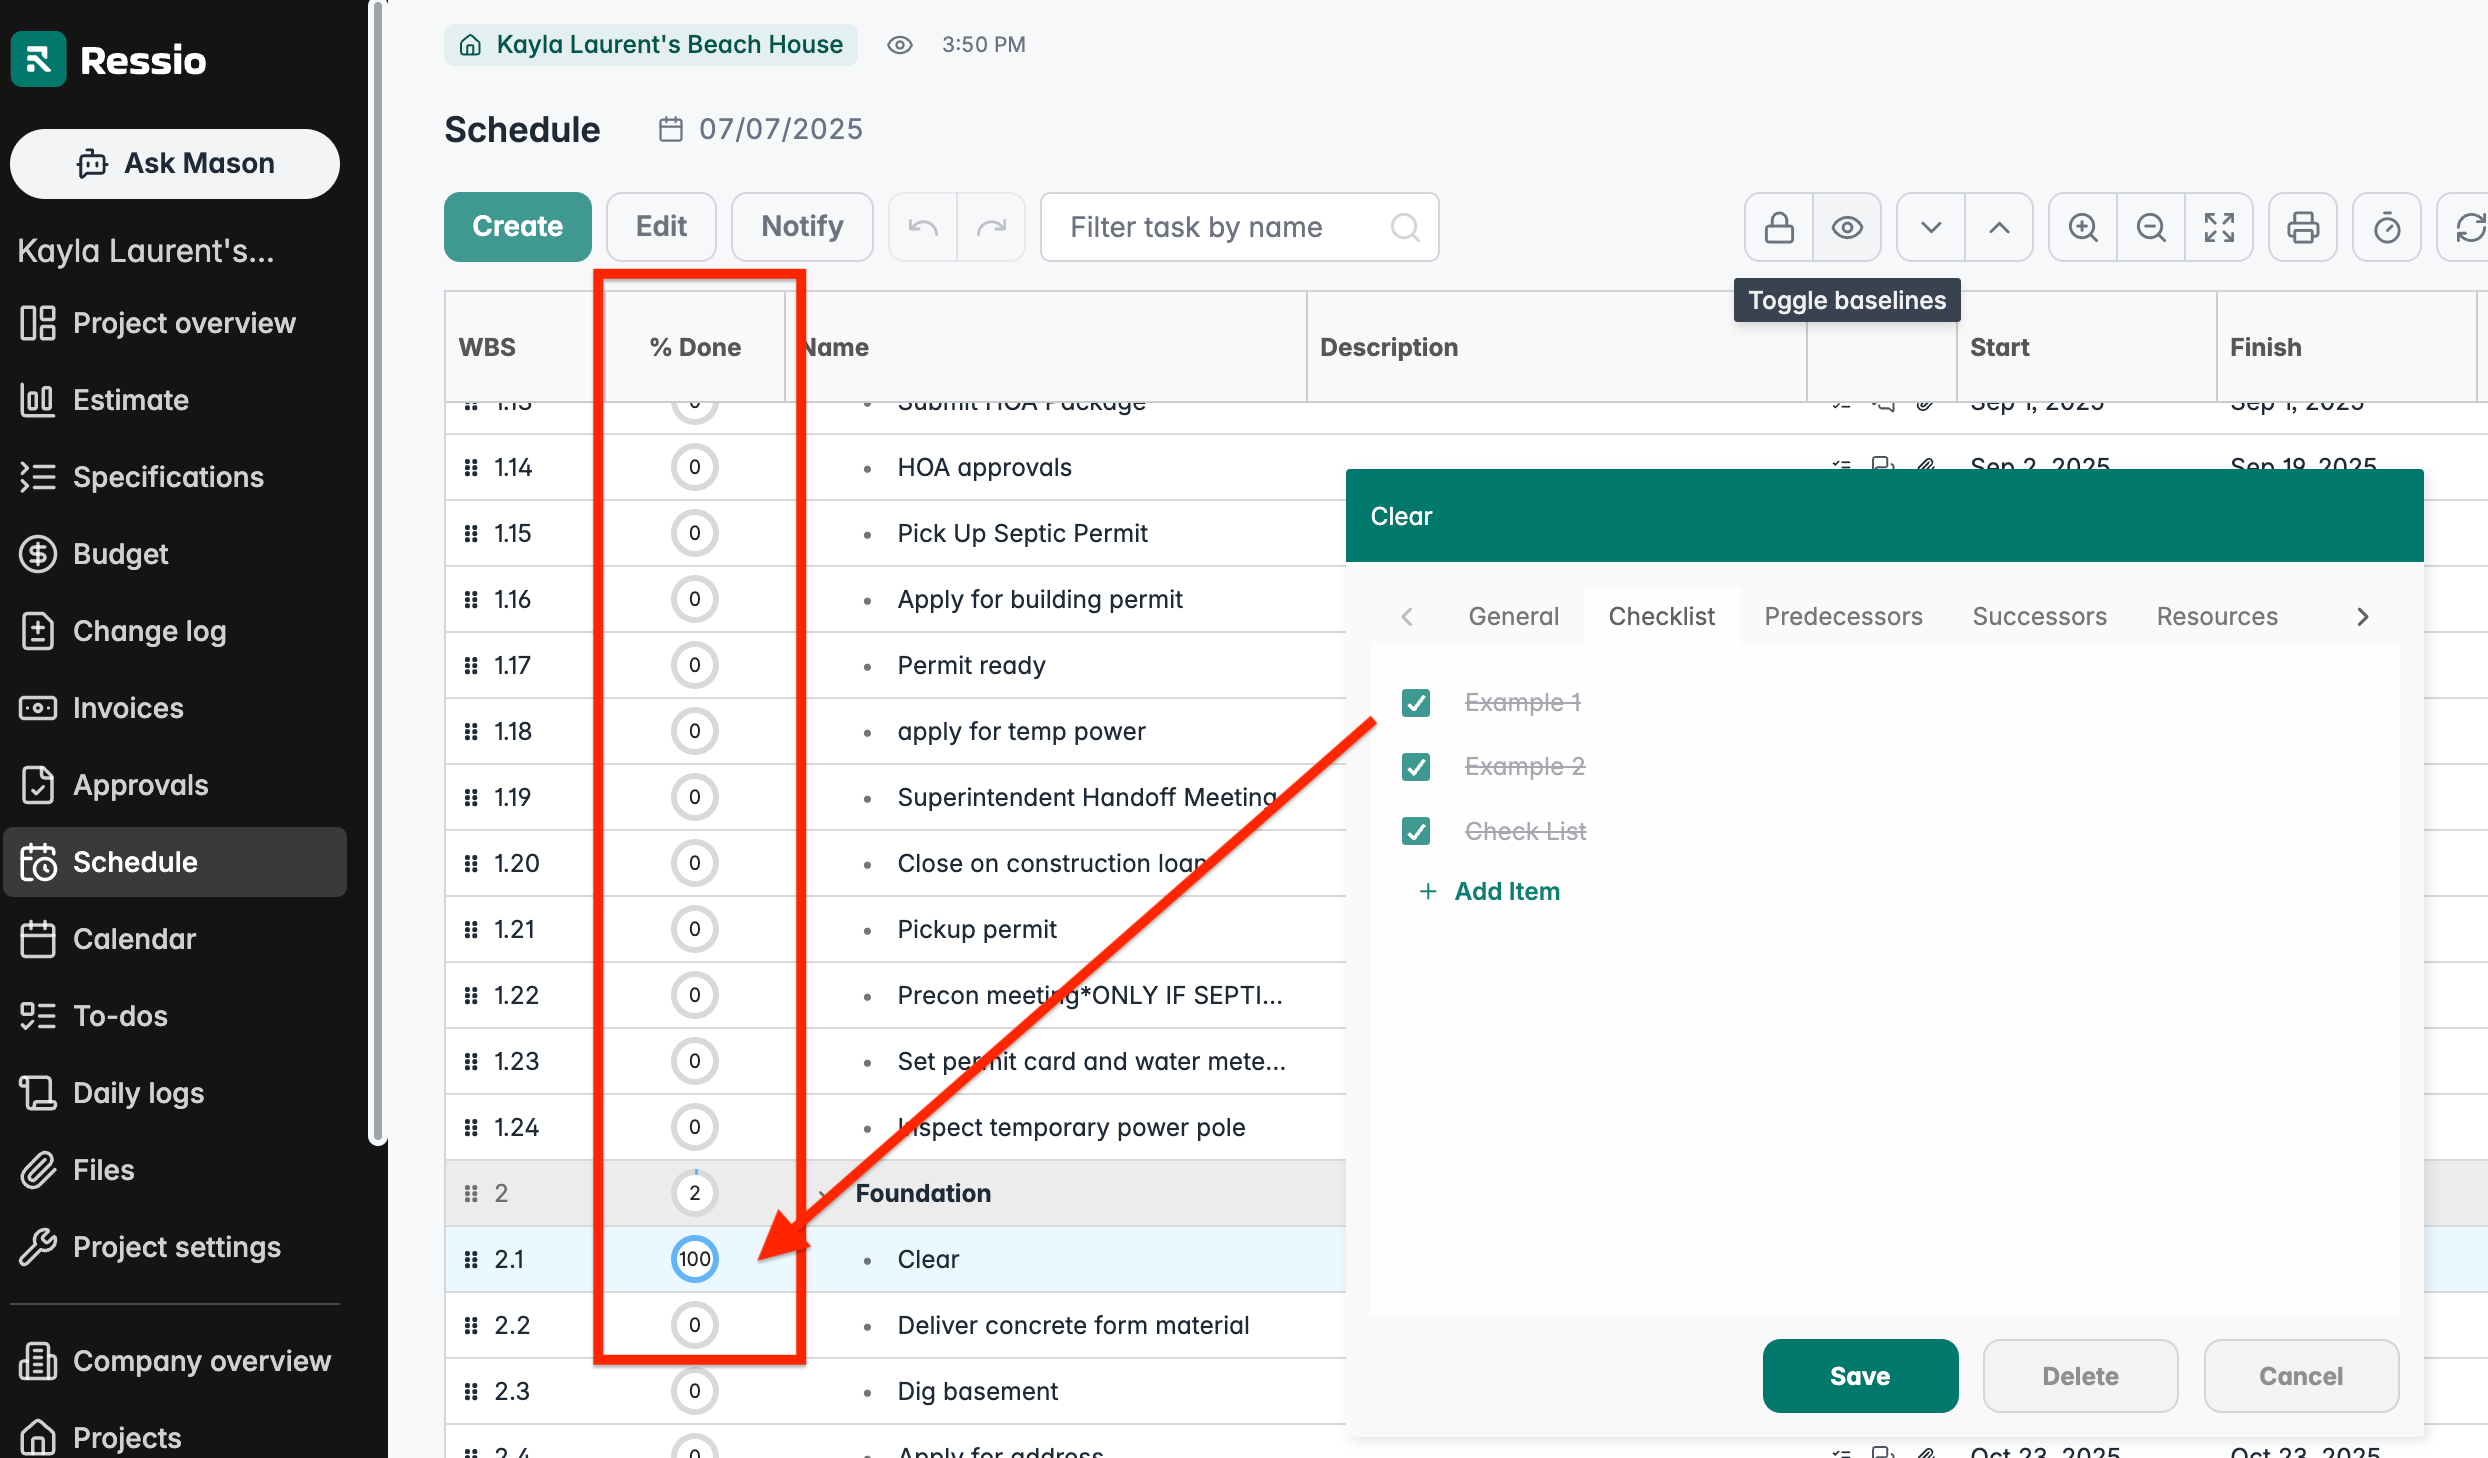
- Add checklist items one by one.
💡 Example: For the task “Site Prep,” your checklist might include “Clear debris,” “Stake site,” and “Inspect soil.”
The schedule is divided into phases (in gray), which expand into tasks. Notice the new icon on the right with check marks. This is where you can create or view a checklist.
For example, in the "Clear" task, a checklist has already been started. It's simple to add a new checklist item. These checklist items represent different parts of the task that can be reviewed and marked off by the assigned person or team member.
✅ You can assign team members to the checklist but not individual checklist items.
💡As you mark off items, the system updates the percentage of task completion.
Tracking Progress
As each item is checked off, Ressio updates the % complete on that task automatically. This is visible both in the Schedule and in the Task Manager.
🎓 Learn more about utilizing the Schedule feature by reading Schedule Overview.
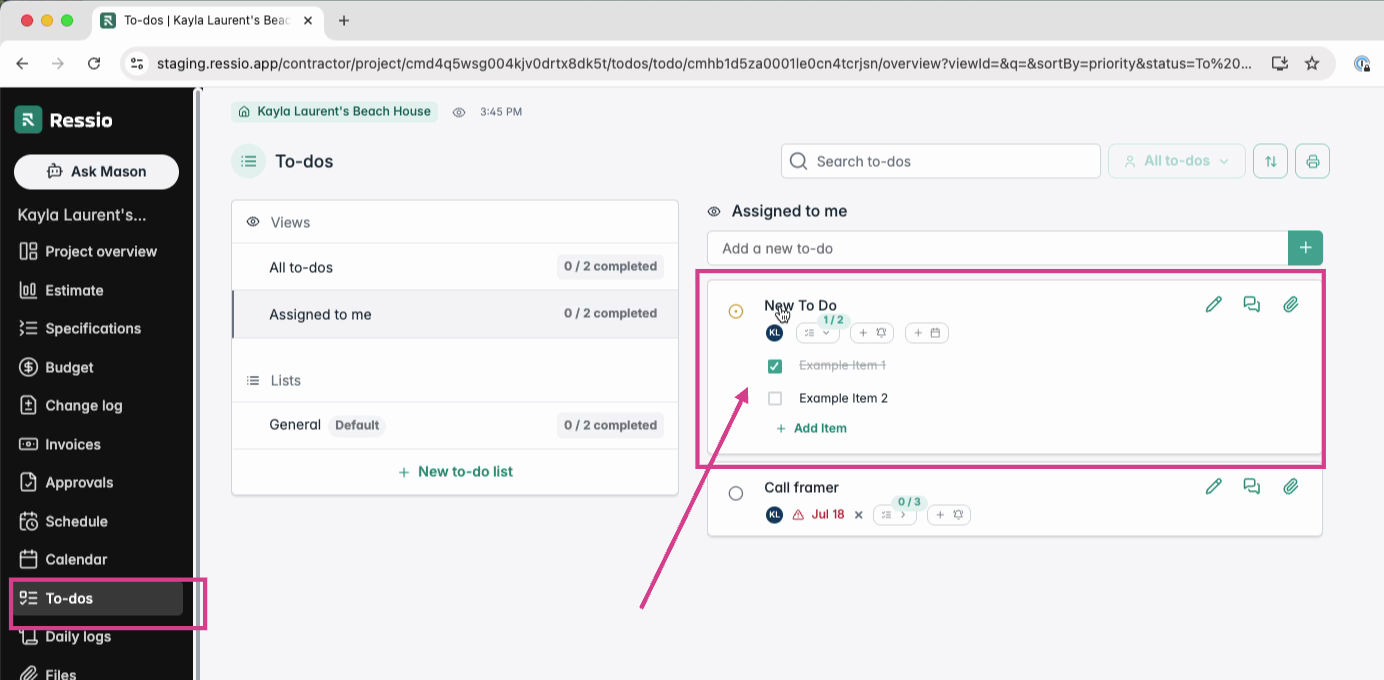
Creating a Checklist in the To-Do's Tab
You can also create checklists within your project's To-Do's tab. To do this, add a new To-Do and select the checklist button. This allows you to start adding different items. Like in the schedule, these items can be checked off one at a time.
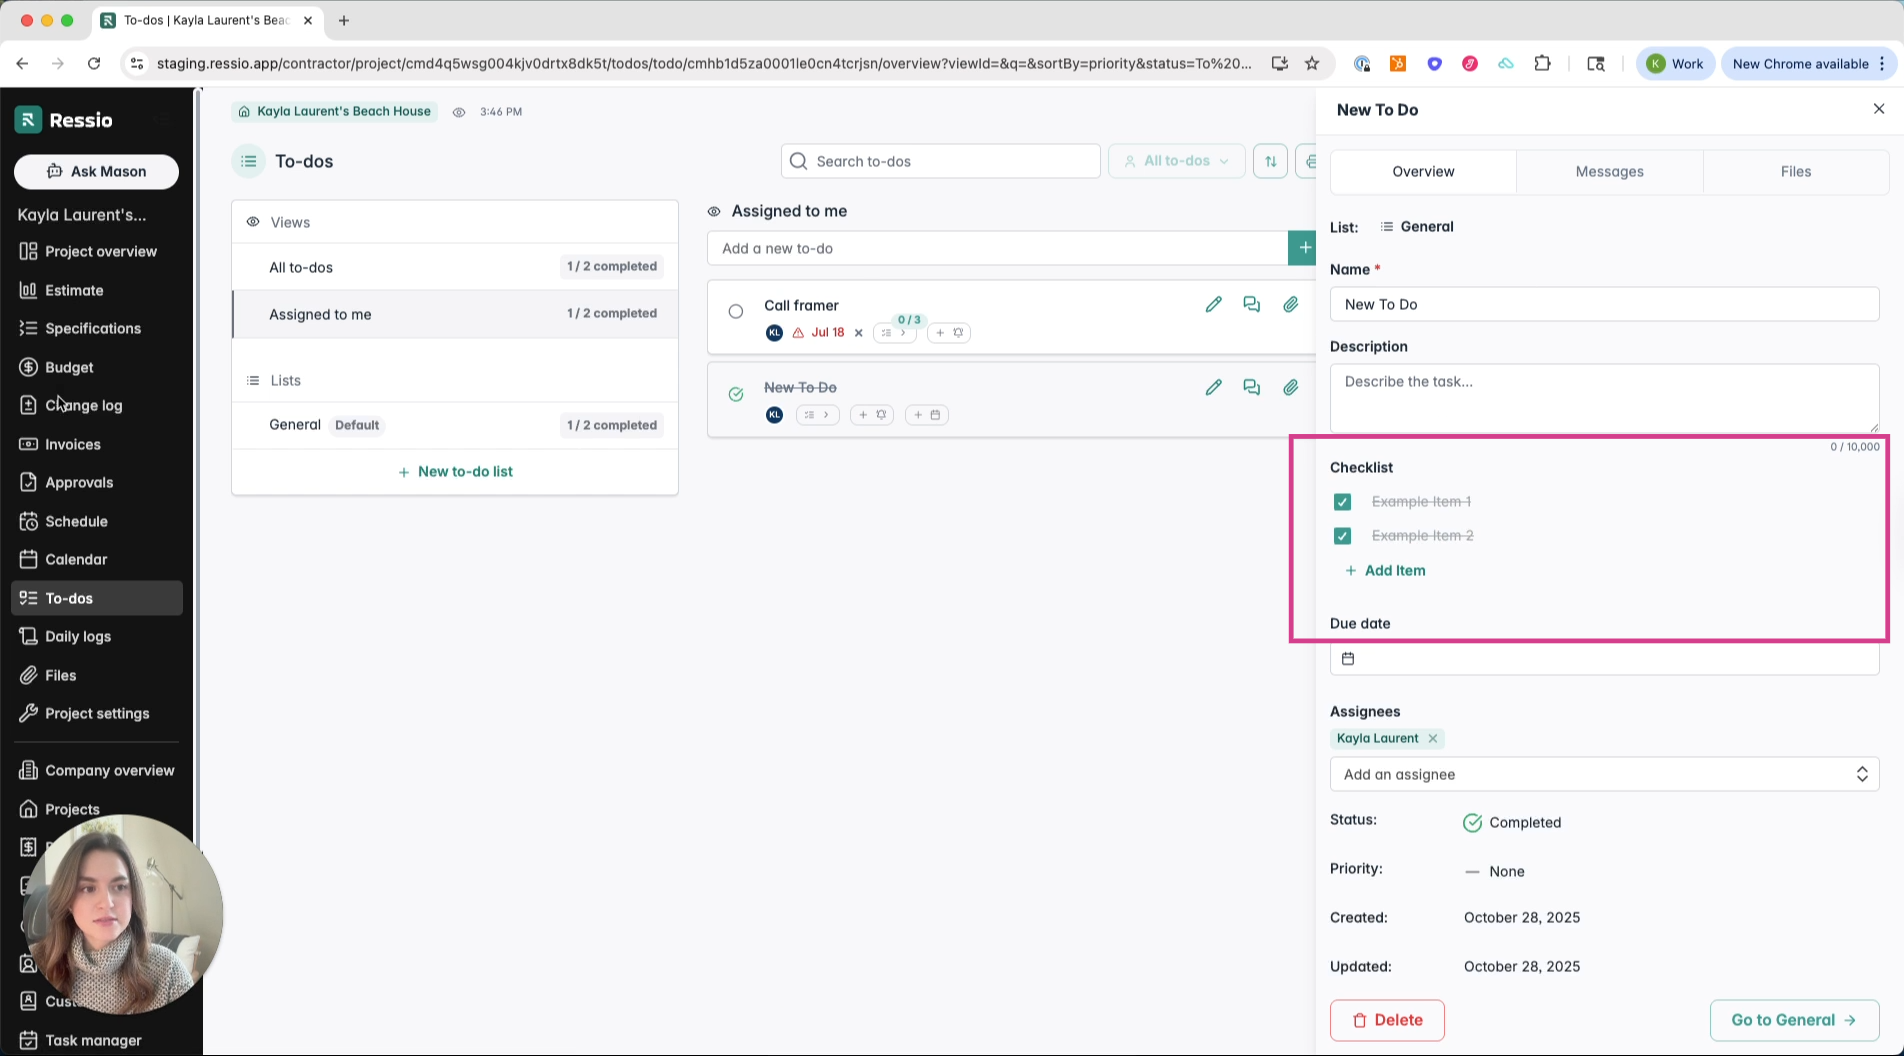
Select the To-Do to see the standard description, additional details, and the checklist. The checklist is located under 'Overview' in the drawer.
🎓 To learn more about to-dos, reading the To-dos Overview article.
Accessing Checklists in the Task Manager
Checklists, being part of your To-Do's and schedule, are also available to your team in the Task manager. Any task with an associated checklist will display a green icon with a fraction of how many checklist items there are.
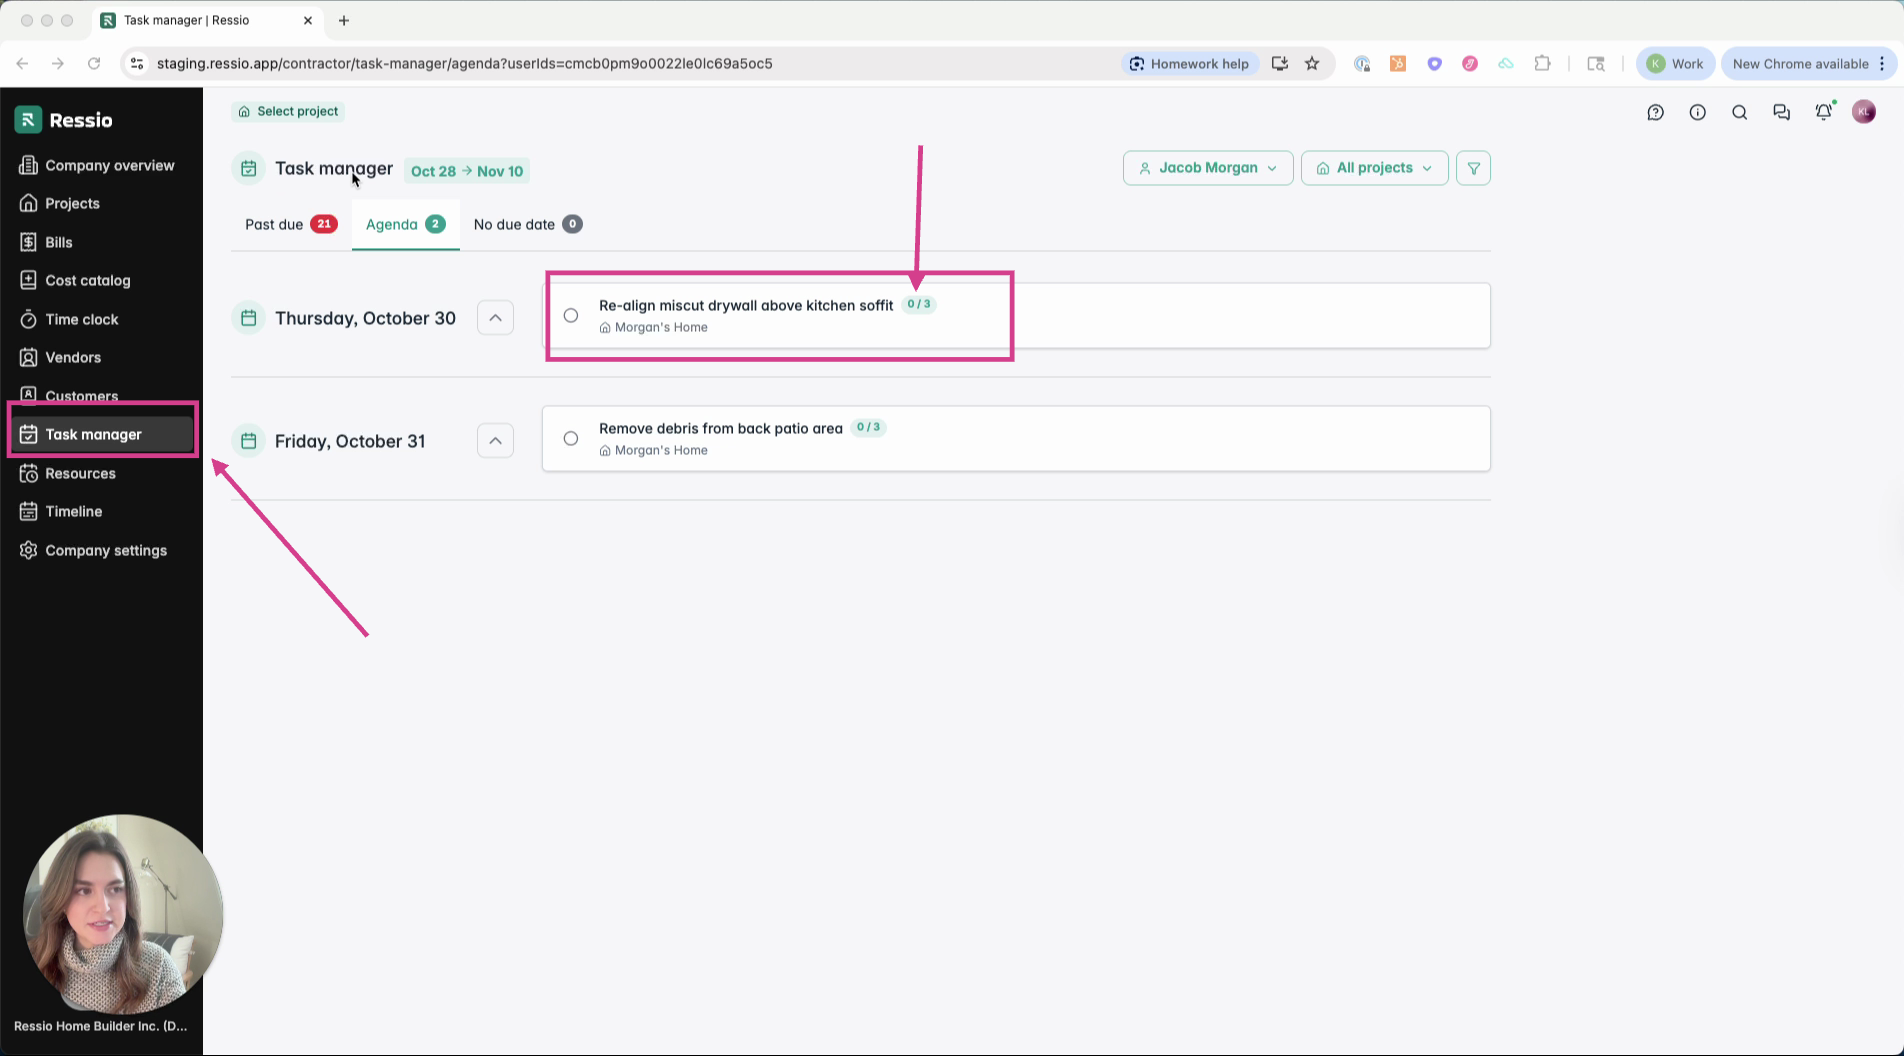
⚠️ When you click on the task, the details drawer of that task comes out. You can edit tasks from the Task Manger.
🎓 To learn more about task manager, read the Task Manager Overview article.
💡Best Practices Tips:
-
Use checklists for recurring QA steps or inspections.
-
Encourage field teams to check items off as they go.
-
Review checklist completion during weekly project meetings.
If you have any questions or need further assistance, contact our support team at support@ressiosoftware.com. We're here to help!